

Subscribe for More Kitchen & Wellness Wisdom 💛
Want more unapologetic tips, real-food hacks, and smart wellness advice straight to your inbox? Join the Holistic Hive and never miss a chance to turn your kitchen into a thriving, flavorful, and organized sanctuary. Because life’s too short for stale food—or boring wellness advice.
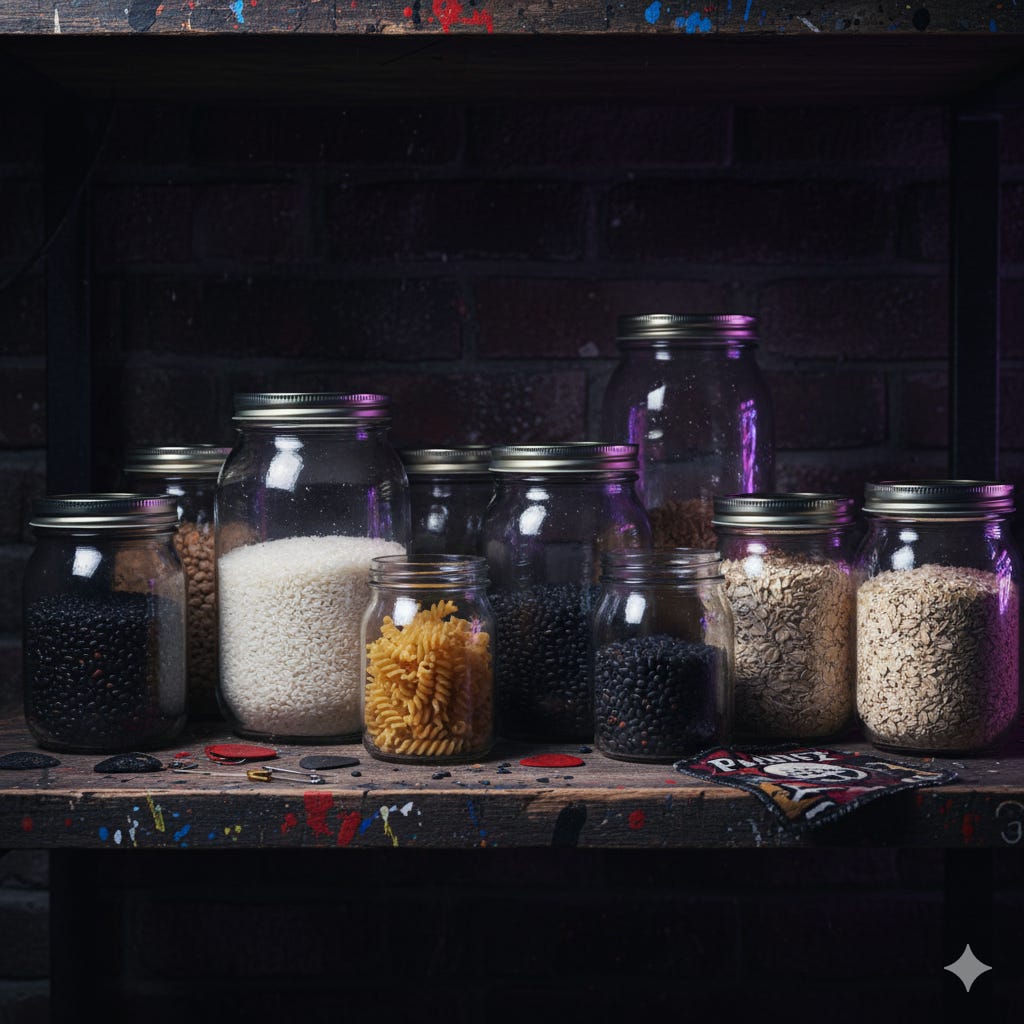
Listen, we all know the struggle: you buy a giant bag of rice, beans, oats, or flour, thinking “I’ll get through this in a few months,” and then—bam!—moth invasion, stale flavors, or the dreaded clump monster shows up. Enter: dry goods canning with a vacuum sealer.
Yes, I said it. You can basically make your pantry last forever with a little know-how, a vacuum sealer you can snag on Amazon for a reasonable price, and some smart jar strategy.
Why You Should Try This
Keeps dry goods fresh: No more stale oats or rancid nuts.
Bug-free: Pantry pests are a nightmare, and this keeps them out for good.
Portion control & organization: Buy in bulk, store in smaller jars, and never fight with giant awkward bags again.
Saves money: Bulk buying = cheaper. Vacuum-sealed jars = less waste.
What You Need
A basic vacuum sealer (Amazon has plenty under $100 that work perfectly).
Wide-mouth mason jars or canning jars with lids.
Dry goods: rice, oats, lentils, beans, nuts, flour, quinoa, pasta, or anything you go through regularly.
Step-by-Step Guide
Prep your jars: Clean thoroughly and dry completely. Nothing ruins your hard work like a damp jar.
Fill jars: Portion your bulk goods into the jars. You don’t need to overthink—just make sure you leave some space at the top so the vacuum can do its magic.
Vacuum seal: Attach the jar lid to your vacuum sealer (most models come with a jar attachment hose). Watch it suck out all the air and seal tight. You’ll hear the satisfying “click” and know you’re done.
Label & store: Write the product and date on the jar. Stack them in your pantry, cabinet, or shelf. Look at all that organized glory.
Tips & Tricks from the Wellness Blondie
Mix jars for rotation: If you use rice and beans regularly, label jars “A” and “B” so you’re always rotating stock.
Freeze flour & nuts before sealing: If you want to be extra sure there are no bugs lurking, freeze for 24–48 hours before sealing.
Don’t skimp on jar size: Smaller jars = easier access, less exposure to air, and no lifting giant bags when you need 1 cup of rice.
Use immediately for opened jars: Once you break a seal, consume within a reasonable timeframe. Vacuum sealing slows spoilage but doesn’t stop it forever once the air’s back in.
Why I Love This
I’ve learned the hard way—giant bags of pantry staples always seemed to attract moths or go stale faster than I could use them. Since I started vacuum sealing into jars, my pantry looks beautiful, everything stays fresh, and I rarely panic about food waste. Plus, it’s oddly satisfying watching the vacuum suck all the air out and seeing the tight, perfect seal.
Wellness Blondie Final Note
Dry goods canning isn’t sexy. It’s not a fancy recipe or a magic potion. But it’s smart. And smart is exactly what keeps a busy wellness-focused kitchen running smoothly. Get your jars, get your vacuum sealer, and get your pantry thriving.
Share the Pantry Magic 🥫✨
Loved this guide to keeping your dry goods fresh, organized, and moth-free? Don’t keep all that pantry power to yourself! Share this article with your friends, neighbors, or anyone who’s tired of stale oats and buggy beans. Let’s make every kitchen a thriving, organized haven—one vacuum-sealed jar at a time.